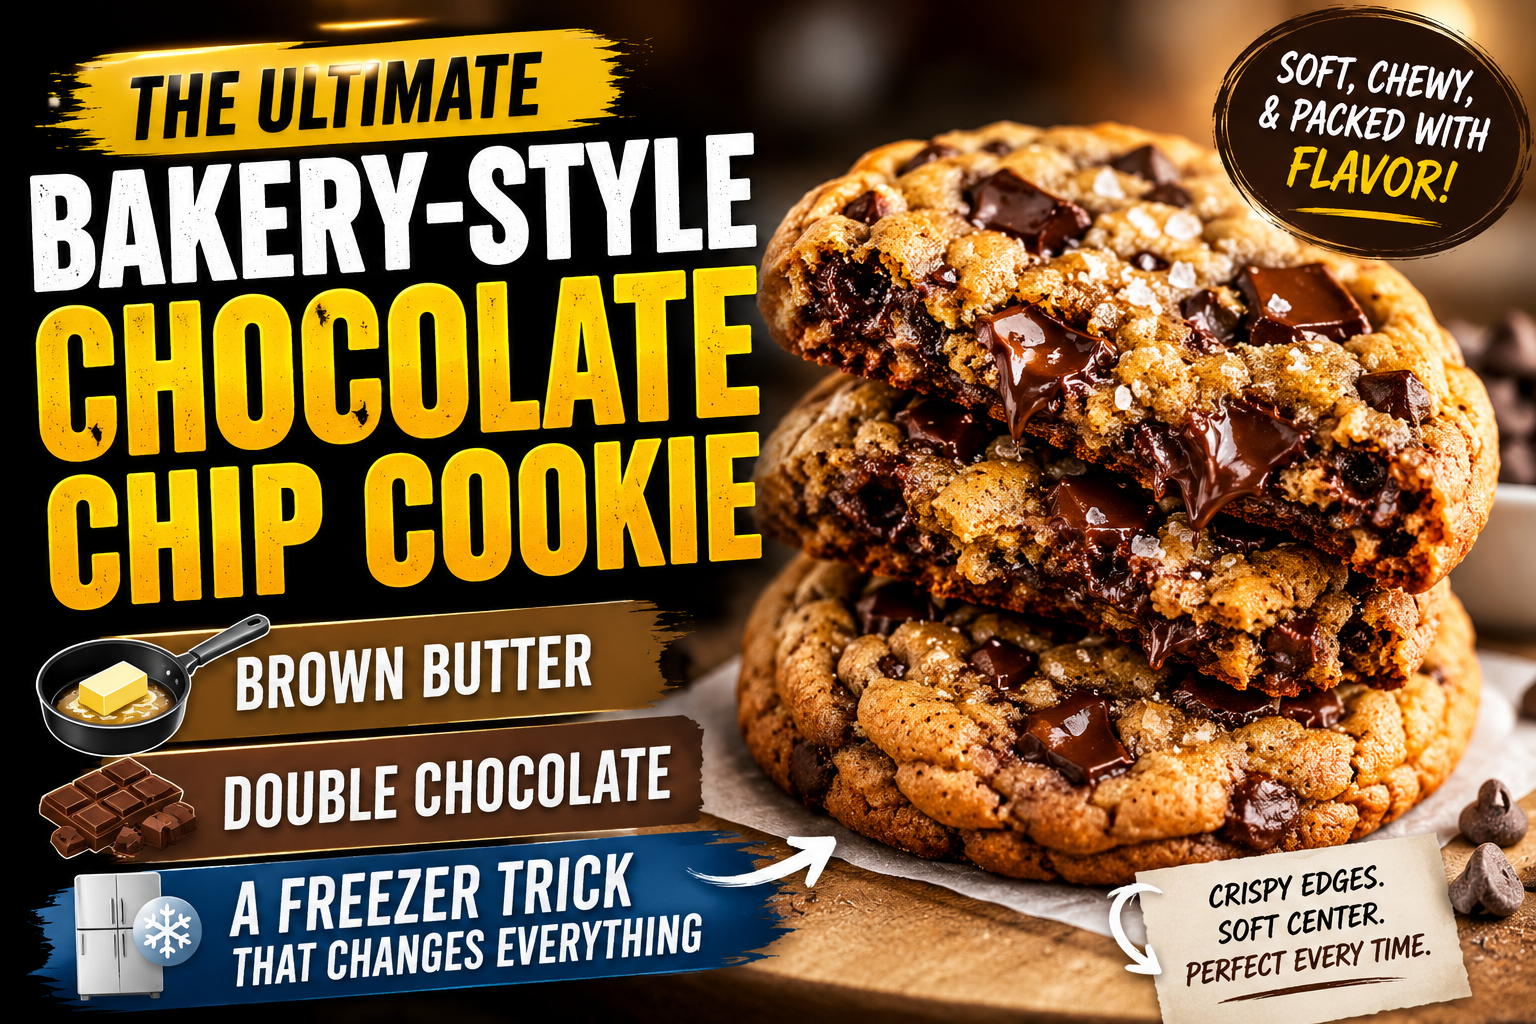
There's a reason chocolate chip cookies never go out of style — but not all cookies are created equal. This version leans on browned butter for depth, a blend of flours for the perfect chew, two kinds of chocolate for texture and melt, and a few small techniques that take it from "good homemade cookie" to "better than the bakery." Here's the full breakdown, step by step.
1. Start With Brown Butter (This Is Non-Negotiable)
Browning the butter is the single biggest flavor upgrade you can make to a cookie recipe, and it's easier than it sounds.
- Melt your butter over medium-high heat in a pan, stirring constantly with a rubber spatula.
- Keep the butter moving at all times — letting it sit still in one spot for too long is how you end up with scorched bits instead of even browning.
- As the butter continues to cook, the milk solids toast and release a nutty aroma. This is the flavor payoff you're working toward.
- Have a stainless steel bowl ready on the side before you start. Stainless cools down fast, which matters for the next step.
- Once the heat is going and the butter starts to bubble more aggressively, dial the heat back slightly. This gives you more control as you approach the browning point.
- Watch for two signals: a distinct nutty smell, and the foam on top starting to turn golden-brown.
- When the foam thickens and just begins to shift color, pull the pan off the heat immediately. The residual heat will finish the job in seconds.
- Pour the butter into your prepared bowl right away — every extra second in the hot pan risks burning it.
- Transfer the bowl to the fridge or freezer to firm back up before using it in the dough.
2. Prep Two Kinds of Chocolate for Better Texture
Using a single type of chocolate chip is fine, but mixing formats gives every bite more variety.
- Use a dark chocolate bar and hand-chop it into irregular pieces — a mix of larger chunks and thin, jagged shards.
- Hand-chopping (versus using pre-made chips) is what creates those uneven fragments that melt differently throughout the cookie.
- Add a second chocolate — smaller, uniform, slightly sweeter bittersweet pieces — to balance out the darker chocolate's bitterness.
- Set the chopped chocolate aside once it's ready; you'll add it in two separate stages later.
3. Build a Smarter Flour Blend
Instead of relying on all-purpose flour alone, this recipe blends two flours to hit both structure and chew.
- All-purpose flour provides the base structure that holds the cookie together.
- Bread flour, thanks to its higher protein content, is what gives the cookie that signature chewy bite.
- Whisk the flours together with baking soda and a pinch of salt.
- Set the dry mix aside — it's ready to fold in once the wet ingredients are done.
4. Mix the Dough
- Pull your brown butter out of the fridge once it's returned to a smooth, frosting-like consistency — don't let it stay liquid or fully hard.
- Scrape all of the brown butter (don't waste any of that flavor) into a mixing bowl.
- Add brown sugar, then granulated white sugar.
- Add two whole eggs, plus one extra egg yolk — the additional yolk boosts richness and improves the final texture.
- Mix in vanilla bean paste rather than standard extract, since the paste delivers a stronger, more layered vanilla flavor.
- Beat everything until smooth and fully combined, scraping down the bowl partway through to make sure nothing's stuck to the sides.
- On low speed, slowly incorporate the dry flour mixture.
- Mix just until combined, then fold in the bittersweet chocolate first, scattering it around the bowl for even distribution.
- Fold in the chopped dark chocolate next, mixing minimally — overmixing at this stage will toughen the cookies.
- Do one final scrape around the bowl to catch any unmixed flour pockets, and the dough is ready.
5. Let the Dough Rest (Optional but Worth It)
- Cover the bowl tightly with plastic wrap and refrigerate anywhere from overnight up to 72 hours.
- Resting allows the flavors to deepen significantly, similar to how a rested pizza dough develops more complexity over time.
- If you're short on time, you can skip this step entirely and bake right away — the cookies will still turn out great, just slightly less developed in flavor.
6. Portion the Dough for Even Baking
- For bakery-style consistency, weigh out each dough ball to roughly the same size — around 140 grams per cookie is the target here.
- Matching the weight of each portion helps every cookie bake at the same rate, so you don't end up with some underbaked and others overdone.
- This step is optional for home bakers — eyeballing your scoops works fine too.
- Expect this recipe to yield about eight large cookies, though the exact count depends on how big you portion them.
7. Finish Before Baking
- Sprinkle just a tiny pinch of flaky salt on top of each dough ball — roughly 10 to 15 flakes is enough. More than that will overpower the sweetness.
- Press a few extra pieces of chocolate onto the top of each cookie. This creates a pool of melted chocolate on the surface once baked.
- Wrap the shaped dough balls in plastic and freeze for about 15 minutes, or until firm to the touch.
- Freezing the dough before baking is the trick behind getting crispy edges alongside a gooey center — skip it and you'll end up with a flatter, less textured cookie.
8. Bake Low and Slow, in Small Batches
- Preheat the oven to 350°F.
- Because these cookies are oversized, bake only a few at a time (three per tray works well) to avoid overcrowding.
- Bake for about 15 minutes total, rotating the tray halfway through for even color.
- As they bake, the frozen exterior melts first and crisps up quickly, while the center takes longer to soften — this contrast is exactly what produces a chewy middle with a crisp outer edge.
- The cookies are done when the edges turn deep golden brown and the center still looks slightly shiny and just barely underbaked.
9. The Pan-Drop Trick
- As soon as the cookies come out, drop the baking sheet firmly against the counter two or three times. This deflates the cookies slightly and creates those signature crinkled cracks across the top.
- Return the tray to the oven for one to two more minutes to finish setting.
10. Serve It Right
- The best way to eat these: scoop vanilla ice cream into a bowl, then lay a warm cookie directly on top and let it split open naturally over the ice cream as it softens.
- These cookies are best enjoyed warm rather than at room temperature — the contrast between the crisp edge, gooey center, and melting chocolate is most pronounced fresh out of the oven.
- Once rested for a few minutes, you'll notice the cracked tops and small pools of melted chocolate that make these look (and taste) like something from a professional bakery.
Why This Method Works
The combination of browned butter, a two-flour blend, hand-chopped chocolate in two styles, and the freeze-before-bake trick is what separates this cookie from a standard drop cookie recipe. Each step targets a specific outcome — flavor from the butter, chew from the flour blend, textural contrast from the chocolate, and that coveted crisp-edge/gooey-center bite from the freezer step. Follow the process in order, and you'll end up with a cookie that holds its own against any bakery on the block.

0 Comments
Leave a comment